Basic MFM Technique
- Open an image and convert it to the LAB color space
- Create a duplicate layer
- Open a curves dialog box (either an adjustment layer or using the "image-adjustments" command
- The next instructions will assume your curve display is dark at the lower left and light at the upper right. This is the default for RGB and for LAB. If that is not true you will have to adjust the instructions for having that reversed.
- For the Lightness channel pick a point in the important part of the image that has approximately neutral lightness and set an anchor point there using ctrl-click. (Alternatively set an anchor point on all channels with shft-ctrl-click.) This will be used as a pivot point.
- Move the upper right (light) end of the curve half way to the pivot point. This will make the image very high contrast.
- Go to the a channel and pick a pivot point (if you have not done so.)
- Move the right (light) end of the curve toward the center until the left (dark) end of the curve snaps to the bottom and hugs the curve diagram.
- This should cause parts of the image to go very high magenta and other parts to go very high green. If it does not do this move the pivot point to the left or right until it does.
- Now go to the b channel and repeat the same procedure you did for the a channel. You should now have parts of the image going yellow and other parts going blue.
- Click OK. You now have the Man From Mars image.
- Reduce the opacity of the MFM layer until the image looks good. This probably will be about 25%, more or less.
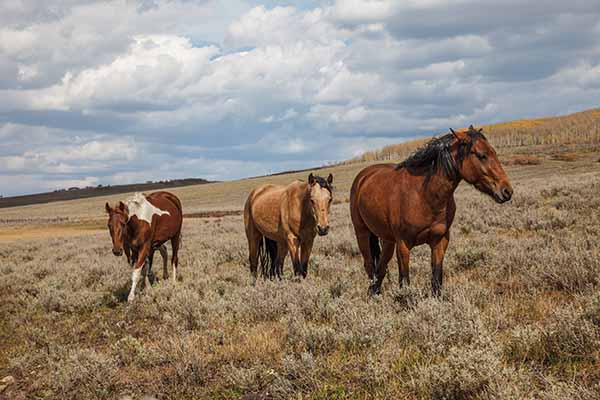
Before
Workflow Using RGB and the Man From Mars Technique
- Open an image in RGB
- Correct any color cast in the image. This need not be perfect, but it is easier to handle color casts in RGB than in LAB.
- Convert the image to LAB.
- Create a duplicate layer.
- With the duplicate layer active create a curves adjustment layer.
- Perform the Man From Mars Technique
- Merge down the curves adjustment layer.
- Correct any color casts using the channels of the two layers as masks.
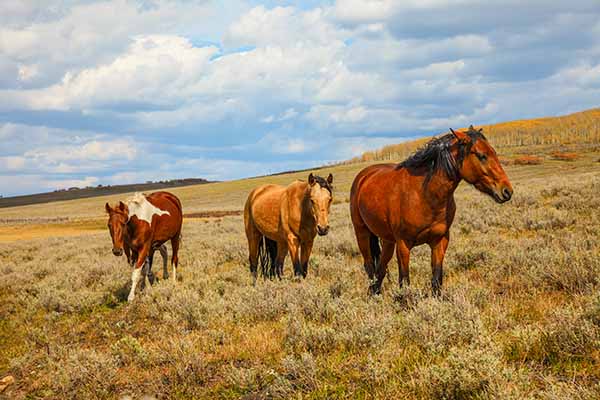
After